There is a particular feeling to leaving the salon with a fresh blowout: the smoothness, the bounce, the way your hair moves. Recreating that at home can feel impossible when your arms ache and the result looks more frizzy than polished — but the difference is rarely talent. It is technique, and it can be learned.
This guide breaks down the salon blow-dry method step by step: the tools that matter, how to prep and section your hair, the round-brush technique that creates smoothness and volume, and the finishing touches that make the result last. With a little practice, a home blow dry can come remarkably close to the salon version. And once the blowout is done, it shows off any cut beautifully — from Brown Wavy Hair with Face-Framing Layers to Blonde Hair Colour Ideas for Your Next Salon Visit.
Key Takeaways
- Rough-dry hair to about 80% before you pick up the round brush — it saves time and reduces heat damage.
- Work in small sections, drying from roots to ends with the nozzle pointing down the hair shaft.
- A round brush with a ceramic or metal barrel creates smoothness, volume, and a polished finish.
- Always use a heat protectant, and finish each section with a shot of cool air to lock the shape in.
- Let the finished sections cool completely before brushing through or styling.
The Tools That Make the Difference
You do not need a professional kit, but a few good tools change the result dramatically. The dryer itself matters most: look for one with a concentrator nozzle, at least two heat settings, and a cool-shot button. Ionic dryers help reduce frizz, and a lighter model saves your arms during a long session.
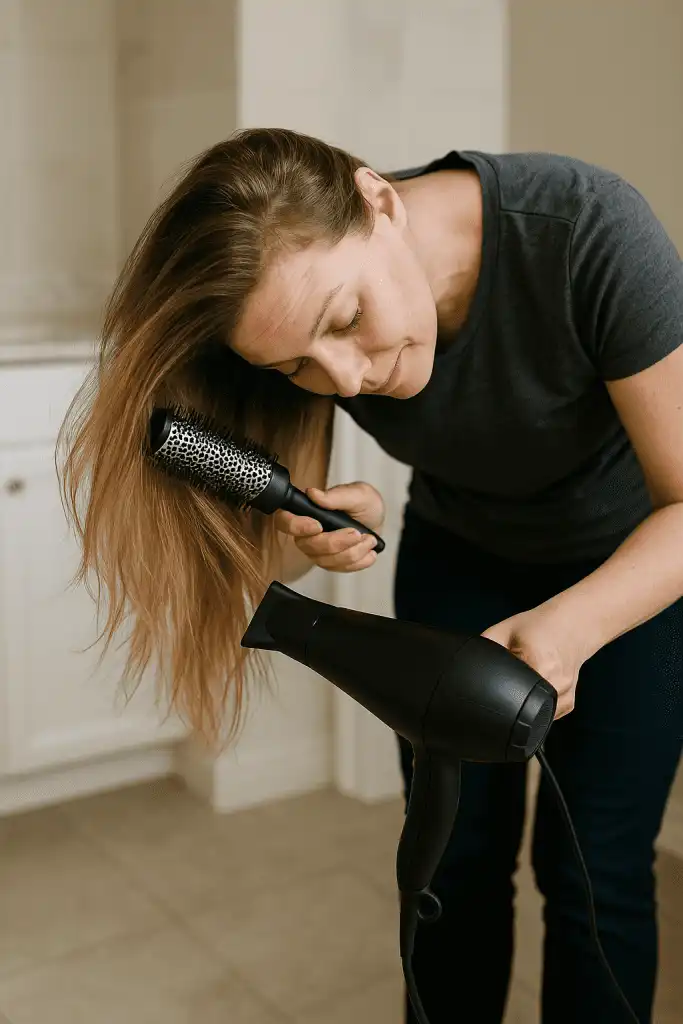
Photo via esmilnacastillo.com
- Hair dryer with concentrator nozzle: the nozzle focuses airflow down the hair shaft, which is what creates smoothness and shine.
- Round brush (medium to large): a ceramic or metal barrel holds heat and shapes the hair; larger barrels give volume and soft bends, smaller ones give tighter curl and control.
- Sectioning clips: keep unworked hair out of the way so you can focus on one small section at a time.
- Heat protectant spray: a non-negotiable barrier between your hair and the dryer’s heat.
- A wide-tooth comb: for detangling wet hair gently before you start.
- Lightweight serum or finishing oil: a drop or two on the ends adds shine and tames flyaways.
Prep: The Step Most People Skip
A good blow dry starts before the dryer is even switched on. Wash with a smoothing shampoo and conditioner if your hair tends to frizz, and rinse with lukewarm rather than hot water. Gently squeeze out excess water with a towel — never rub, which roughens the cuticle and invites frizz — then detangle with a wide-tooth comb.
Apply a heat protectant evenly through damp hair, and add a volumising mousse at the roots if you want lift, or a smoothing cream through the lengths if your goal is sleekness. Then rough-dry: using just your fingers and the dryer on medium heat, dry your hair to about 80% dry, lifting the roots as you go. This is the single biggest time-saver in the whole process, and it means the round brush only has to do the final shaping rather than all the drying.
The Salon Blow-Dry Technique, Step by Step
Work methodically, section by section. Rushing through large chunks of hair is the most common reason a home blow dry falls flat.
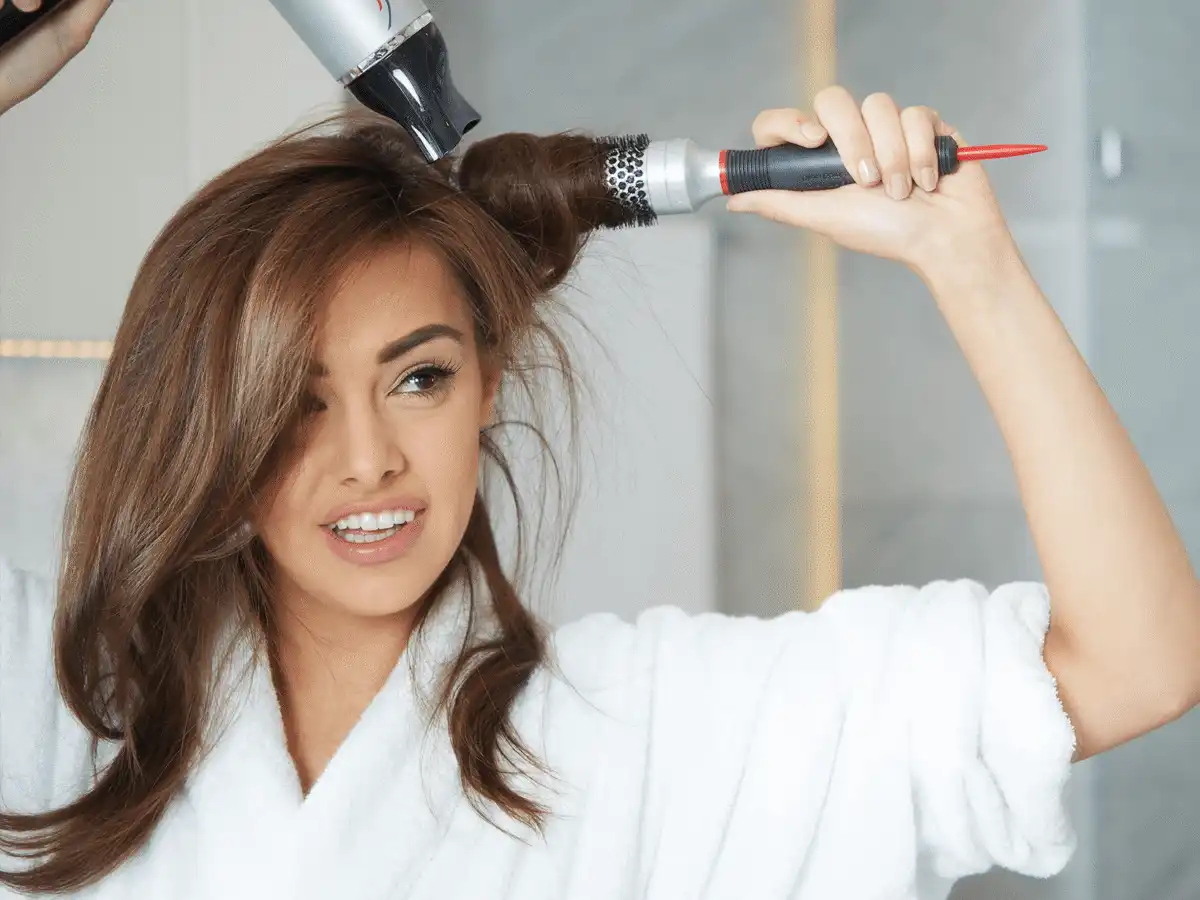
Photo via nivea.cz
- Section the hair: clip the top layers up and start with the bottom layers at the nape. Work in sections about two inches wide — small enough that the brush can grip the hair fully.
- Place the brush at the roots: slide the round brush under a section, close to the scalp, and pull it taut. Tension is what creates smoothness.
- Follow with the dryer: hold the nozzle a few inches from the hair, angled downward along the shaft, and move it slowly from roots to ends as the brush glides through. Keep the airflow pointing down — this flattens the cuticle and creates shine.
- Roll for shape: at the ends, roll the brush under for a soft inward bend, or outward for a flick. Hold the roll for a few seconds with heat, then hit it with the cool shot to set the shape.
- Work upward: release the next layer and repeat, saving the crown and face-framing pieces for last, since these are the most visible.
- Let it cool: once all sections are done, leave the hair untouched for a few minutes. Cooling is when the shape locks in. Brush through gently only after it has cooled.
For extra volume at the crown, dry the top sections by pulling them up and over in the opposite direction of how they will fall, then flip them back once cool. For face-framing layers, roll the brush away from the face to open the shape up — a technique that flatters layered cuts like Brown Balayage Hair Colour Ideas and Bangs Haircut Ideas with a Collarbone Length.
Finishing Touches That Make It Last
Once the hair is cool, run a drop of serum or a pea-sized amount of finishing oil through the mid-lengths and ends — never at the roots, where it will flatten volume. A light mist of flexible-hold hairspray adds staying power without stiffness. If your hair tends to drop by midday, a quick blast of dry shampoo at the roots the next morning revives the lift.
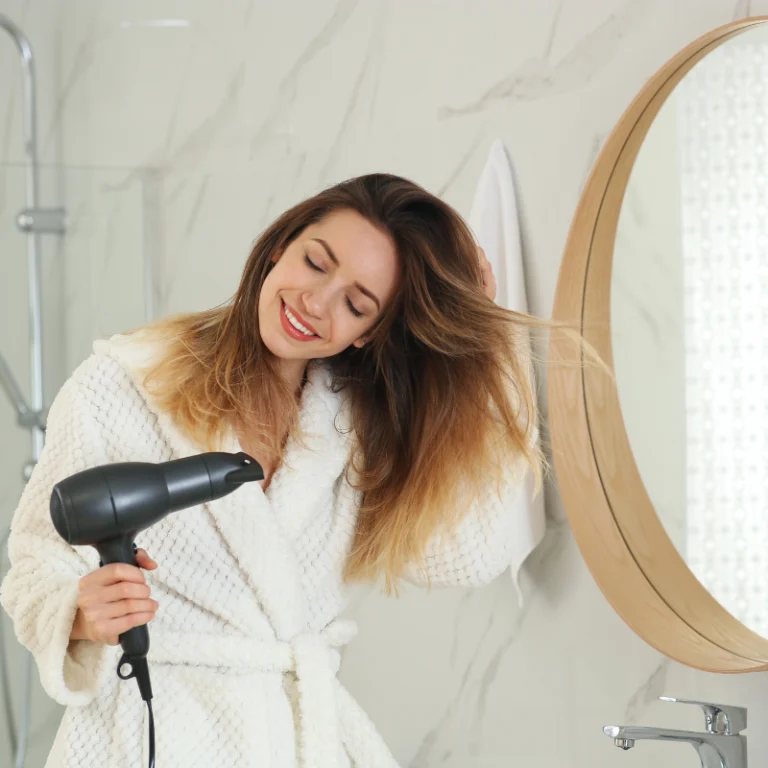
Photo via beautynews.com.au
To make a blowout last two or three days, sleep with your hair loosely gathered in a high, soft ponytail or a loose braid, and use a silk or satin pillowcase to reduce friction and frizz. In the morning, a quick pass with the dryer on cool and a touch of dry shampoo usually restores the shape.
Common Blow-Dry Mistakes to Avoid
Starting with soaking wet hair: round-brushing dripping hair takes far longer and exposes it to more heat. Rough-dry first, always.
Working in sections that are too big: the brush cannot grip or tension a thick section properly, so the result is uneven and frizzy.
Pointing the dryer upward: airflow aimed up the hair shaft lifts the cuticle and creates frizz. Always angle the nozzle downward.
Skipping heat protectant: repeated unprotected heat is the fastest route to dryness, breakage, and split ends.
Brushing through while still warm: hair sets as it cools. Touching it too soon undoes the shape you just built.
Using the hottest setting throughout: high heat is rarely necessary. Medium heat with good technique gives a smoother, healthier result.
Adapting the Technique to Your Hair Type
Fine hair: use a volumising mousse at the roots, keep sections small, and avoid heavy serums that weigh hair down. A smaller round brush gives more lift.
Thick or coarse hair: work in even smaller sections and take your time. A smoothing cream before drying helps control volume, and a larger brush speeds up the process.
Curly or wavy hair: if you are blow-drying curls smooth, a paddle brush for the first pass followed by a round brush for shaping works well. If you want to keep the curl pattern, use a diffuser instead of a concentrator nozzle.
Short hair and bobs: a smaller round brush gives control and shape, and the whole process is much faster. Bobs and textured cuts like Boho Bob Haircuts with Textured Styles respond beautifully to a quick round-brush finish.
How Long Does a Home Blow Dry Take?
With practice, most people can finish in twenty to thirty minutes: five to ten for rough-drying and fifteen to twenty for the round-brush work. The first few attempts will take longer, and that is normal — speed comes with familiarity, not force. The result should last two to three days with the right aftercare, which makes the time investment worthwhile. A polished blowout also elevates the simplest morning, and pairing it with a fresh, healthy base — the kind built by the Glowing Skin Morning Skincare Routine — makes the whole look come together.
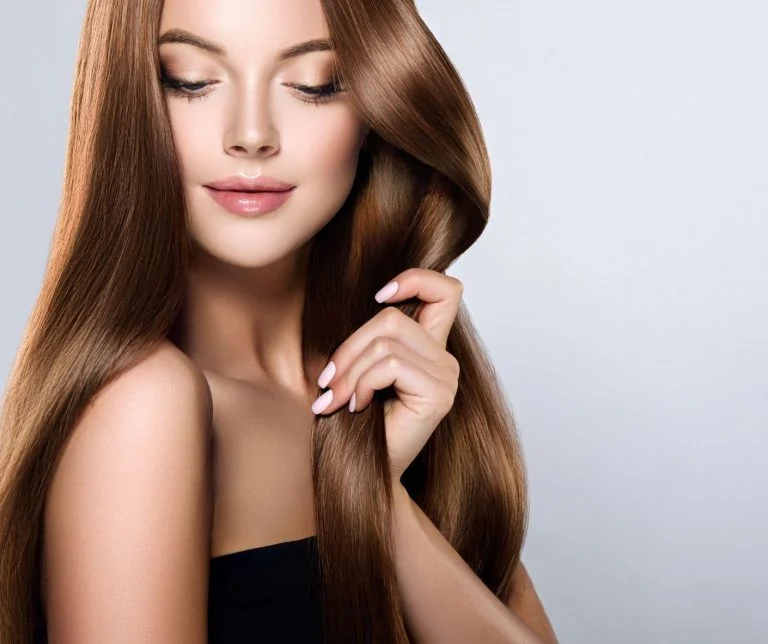
Photo via bradleydouglassalonspa.com
Frequently Asked Questions
How can I get more volume from my blow dry?
Dry the crown sections by pulling them up and over in the opposite direction of how they will fall, use a volumising mousse at the roots, and let each section cool before brushing through. A smaller round brush also creates more lift than a large one.
Why does my hair go frizzy after blow-drying?
The usual causes are drying soaking-wet hair, pointing the nozzle upward, skipping heat protectant, or using sections that are too large. Rough-dry first, keep the airflow angled down the hair shaft, and finish with a cool shot and a drop of serum on the ends.
Is blow-drying bad for your hair?
Daily high-heat drying without protection can cause dryness and breakage over time, but a careful technique — heat protectant, medium heat, rough-drying first, and not drying every day — keeps damage low. Letting your hair air-dry some days gives it a break.
What size round brush should I use?
For most medium to long hair, a medium to large barrel (around 43–53 mm) is the versatile choice: it smooths and adds soft volume. Shorter hair or tighter shaping calls for a smaller barrel, while very long hair benefits from a larger one.
How do I make my blowout last longer?
Sleep with hair loosely gathered on top of your head, use a silk or satin pillowcase, and refresh with dry shampoo at the roots in the morning. Avoid touching the hair too much during the day, and keep it dry in humid weather or the shower.
Final Thoughts
A salon-quality blow dry at home comes down to a handful of habits: rough-dry first, work in small sections, keep the airflow pointing down, and let the hair cool before you touch it. The first few attempts may feel slow and awkward — every stylist started there too. Stick with the technique for a few weeks, and the smooth, bouncy result will start to feel like second nature.
Disclaimer: This article is for general informational purposes only and does not constitute professional advice. Hair responds differently depending on type, condition, and past treatments. If you have scalp concerns, hair loss, or damage from heat or chemical treatments, consider consulting a professional hairstylist or dermatologist.